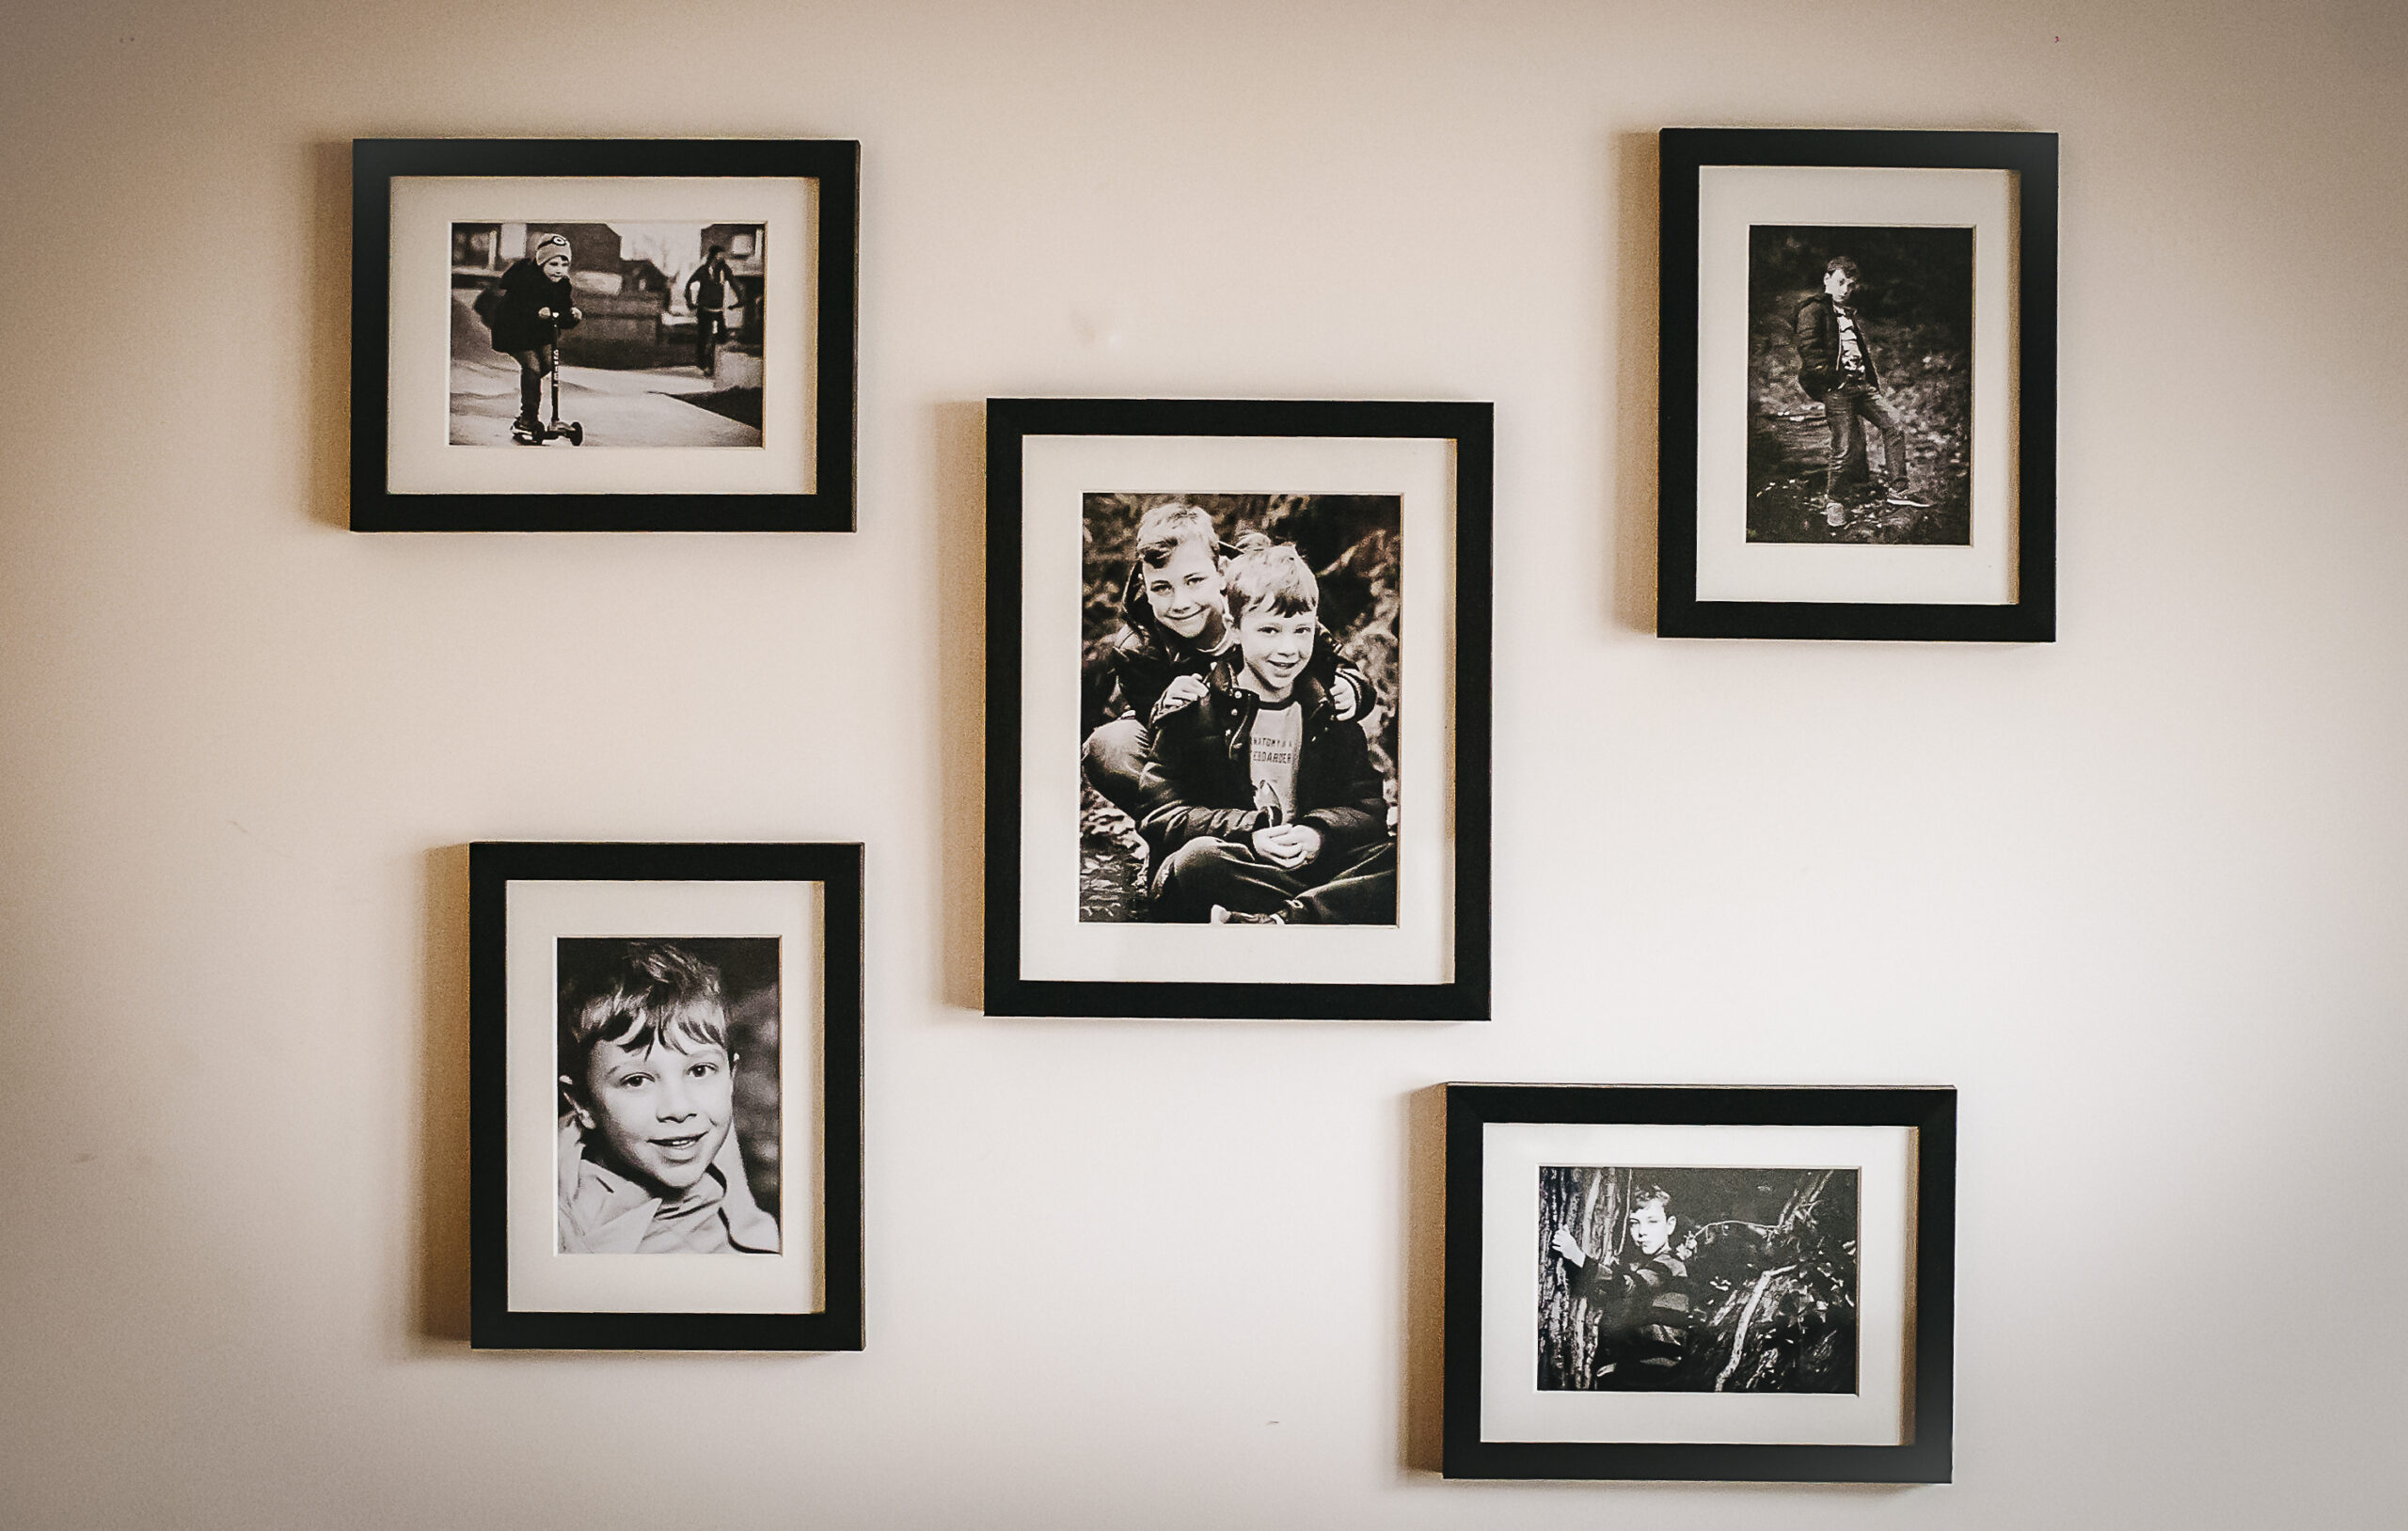
First things first… don’t panic :)! It can seem like a huge challenge and pretty daunting when you first start but I promise it will be worth it. Take your time, you don’t have to have it created over night.
Hopefully this blog will provide you with steps and guidance to help you create a show stopping wall gallery of all your family photography that you treasure so you can enjoy it every day.
What you’ll need
- Hammer
- Hooks
- Spirit level (crucial if you are anything like me, a wonky frame drives me mad!)
- Brown paper
- Masking tape
- Images
- Frames
- Glass of wine (not too much though!)
- A playlist of your favourite tunes.
Choose where to hang you gallery
I wrote a blog a few weeks ago all about how to hang your family photography, check it out for inspiration on where to hang your gallery.
https://www.jorobbensphotography.co.uk/2017/10/09/top-tips-for-hanging-photographic-wall-art/
When you have decided where you are going to put the gallery, you just need to work out how big you want it to be.
Pick your images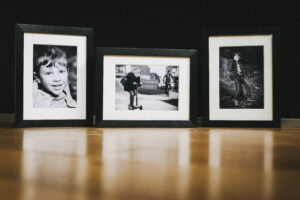
Choosing the images is the fun part! Think about using a similar style of photography or having a theme or thread running through them. For example you could do a black and white gallery, choose similar colouring or all action shots.
Choose your frames
When choosing your frames, think about the interior styling. There are a number of different routes you can take, for example a uniform gallery with all the same frames and the same size or choosing a variety of frame styles and sizes which can create a really interesting centre piece – the choice is yours!
Deciding on your Layout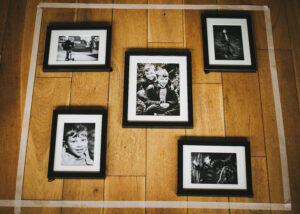
Once you have decided on where you are going to put your gallery, how big the gallery is going to be, the images and frames, the next step is to plan your layout.
A great way of doing this is marking out an area on the floor the size of your gallery and placing your frames in it. A good way to plan up a layout is to start with a larger image that is placed slightly off centre and you build the gallery around this point.
Getting it on the wall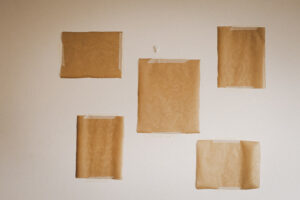
I find the easiest way to get your designed gallery on the wall is to use brown paper and cut out the individual frame sizes and masking tape the arrangement to the wall. You can then simply work out where your hooks need to go and nail them to the wall, remove the paper and voila, hang your beautiful gallery and enjoy!
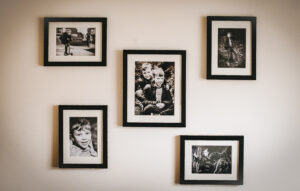
I hope you found this helpful and I’d love to see your finished wall galleries!
Join my mailing list to keep up to date with fun family time ideas, exclusive offers and much more!
[convertkit form=5101467]
